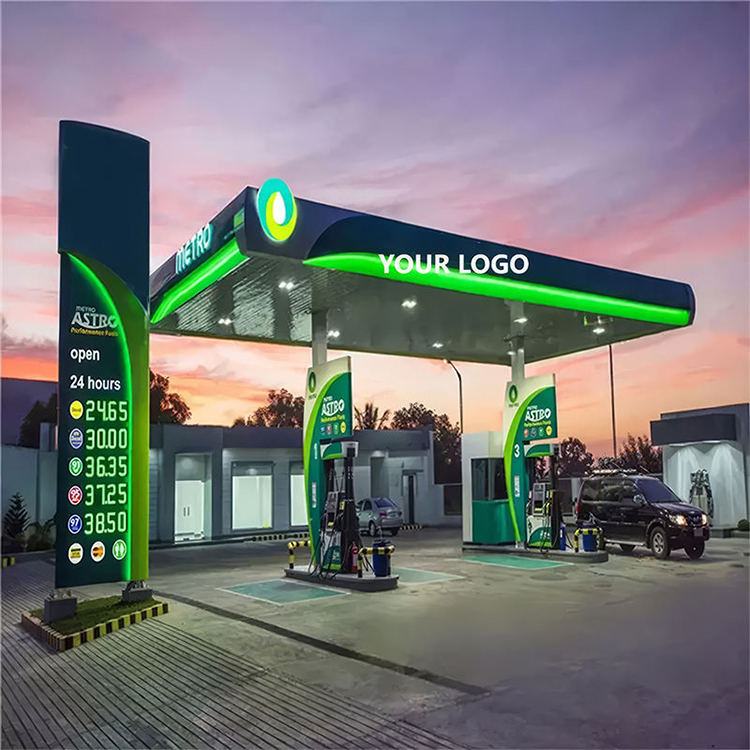
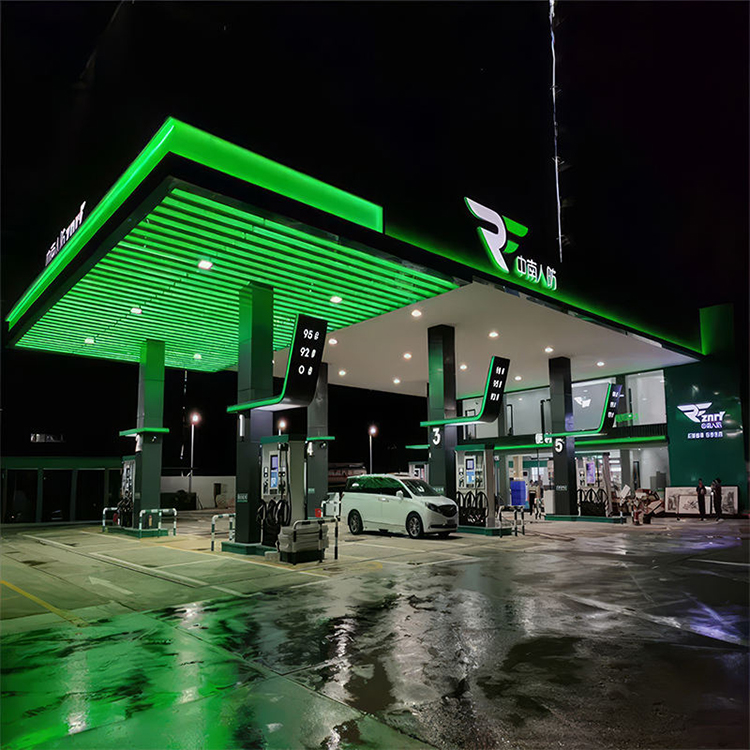
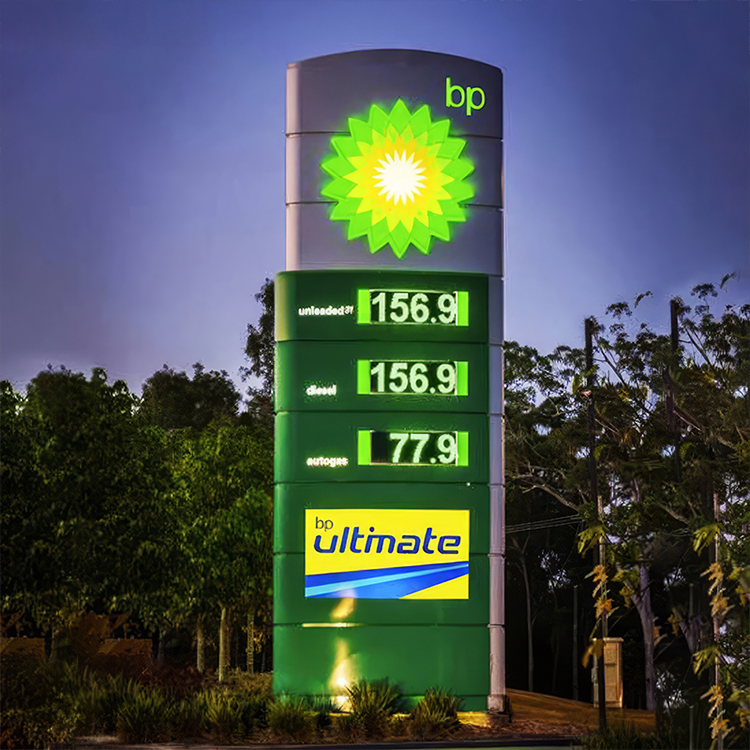
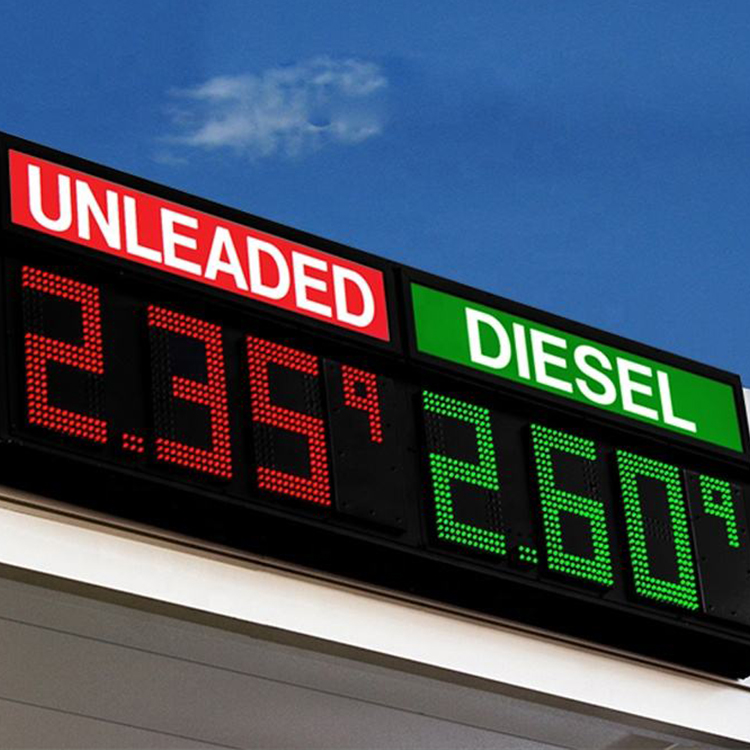
Tell us your sign type, dimensions, quantity, materials, illumination, voltage, mounting method, and delivery country. Our engineering team will review your requirements and prepare a factory quotation with recommended specifications and estimated production lead time.
Before You Leave, Get a Factory Quote
Share your drawings, dimensions, materials, quantities, illumination requirements, and delivery destination. Our signage engineering team will review your project and provide a tailored manufacturing proposal for LED letters, light boxes, pylon signs, gas station signage, or other custom sign systems.
Gas station signage installation is the coordinated process of positioning, anchoring, wiring, sealing, testing, and documenting pylon signs, canopy fascia, fuel-price displays, logos, and directional signs. The most expensive mistakes usually begin before installation, when contractors rely on incomplete site data, generic foundations, unverified electrical assumptions, or drawings that were never approved for the actual location.
The hard truth?
A sign can look excellent in the factory and still become a costly field failure.
I take a firm position on this: installation is not the final step of a signage order. It is part of the engineering process. Buyers planning a complete gas station signage system should define site conditions, mounting details, electrical inputs, access equipment, permit responsibilities, and commissioning procedures before production starts—not after the containers arrive.
The Most Expensive Mistakes Happen Before Installation
Mistake 1: Treating a Shop Drawing as a Site-Installation Drawing
A manufacturing drawing explains how a sign is fabricated. It does not automatically prove that the sign can be safely installed at a specific station.
This distinction is routinely ignored.
A shop drawing may show cabinet dimensions, aluminum thickness, acrylic faces, LED modules, internal steel framing, mounting holes, and cable exits. A site-installation drawing must go further. It should address:
Existing structural conditions
Anchor-bolt size and spacing
Concrete foundation requirements
Soil assumptions
Wind exposure
Utility locations
Electrical connection points
Crane or lift access
Maintenance clearance
Local permit requirements
Using one drawing for both purposes is a procurement shortcut. It is not an engineering strategy.
For a pylon sign, the installer may discover that the proposed base plate does not match the existing foundation. For canopy fascia, the mounting rails may conflict with drainage channels or structural members. For an LED price display, the power and communication cables may exit on the wrong side of the cabinet.
Every one of these problems was predictable.
Mistake 2: Fabricating Before the Site Survey Is Complete
Measure it twice.
A proper site survey must record more than width and height; it should confirm elevations, obstructions, canopy conditions, underground services, power location, viewing directions, access routes, nearby overhead lines, foundation dimensions, and enough photographs to let an engineer understand the site without guessing.
Why manufacture a six-metre structure from three mobile-phone photographs?
At minimum, I expect a gas station signage installation survey to document:
Overall sign dimensions and mounting height
Existing concrete and steel conditions
Available input voltage and circuit location
Distance from dispensers and traffic lanes
Underground utility-marking status
Nearby overhead electrical conductors
Crane, truck, and aerial-lift positioning
Service-door opening clearance
Drainage paths and low points
Local permitting authority and adopted codes
No survey means no reliable installation price. Any contractor who offers a firm installation figure without this information is either adding a large risk premium or planning to issue change orders later.
Mistake 3: Digging Before Utilities Are Positively Located
Pylon-sign foundations, directional-sign posts, electrical conduits, and communication trenches can conflict with buried power, gas, water, drainage, or data services.
In the United States, OSHA requires employers to request that utility companies or utility owners locate underground installations before excavation begins. OSHA also warns that the locating method must be both effective and safe; even traditional hand digging can damage vulnerable electrical lines under certain conditions. Equivalent local rules apply in other countries. OSHA’s excavation guidance explains why detection equipment, utility coordination, and controlled exposure methods matter.
The common field mistake is to treat painted surface markings as final proof.
They are not.
Markings can be incomplete, offset, outdated, or limited to public utilities. Privately installed cables between the station building, canopy, price sign, and dispensers may not appear in public records. Ground-penetrating radar, vacuum excavation, historical drawings, and controlled potholing may still be required.
Structural Errors That Turn Signs Into Liabilities
Mistake 4: Reusing an Existing Foundation Without Verification
Reusing a foundation sounds economical. Sometimes it is.
But the existing concrete must be verified for:
Plan dimensions
Depth
Reinforcement
Concrete condition
Anchor-bolt pattern
Corrosion
Previous cracking
Soil movement
Compatibility with the new sign’s overturning forces
A new cabinet may have a larger surface area than the old sign. A digital display may add weight and change the centre of gravity. A taller pylon may produce significantly greater overturning demand even when its internal frame looks similar.
The words “same location” do not mean “same load.”
Before ordering custom gas station pylon signs, the buyer should provide verified foundation data or request a new foundation design based on site-specific structural calculations.
Mistake 5: Using a Generic Wind-Speed Assumption
Wind does not negotiate.
ASCE describes ASCE/SEI 7-22 as the nationally adopted loading standard used in the United States for hazards including wind, snow, rain, seismic forces, soil, flood, and atmospheric ice. A pylon’s required structure therefore depends on location, height, exposure, sign geometry, load combinations, and the locally adopted code—not a universal “standard frame.” ASCE 7-22 provides the design framework used by engineers and code officials.
I am skeptical whenever a supplier says, “This structure works everywhere.”
It does not.
A 6 m roadside pylon installed in a sheltered urban site is not exposed to the same conditions as an 8 m sign near an open coastal road. The cabinet width, sign height, terrain category, connection details, foundation, and local wind map all matter.
The correct sequence is simple:
Confirm the installation address.
Identify the adopted code and required design wind speed.
Calculate structural and foundation loads.
Approve the engineering drawings.
Manufacture the sign.
Install according to the approved documents.
Reversing that sequence usually costs more.
Mistake 6: Ignoring Corrosion Between Dissimilar Materials
Gas station signs frequently combine carbon steel, stainless steel, aluminum, galvanized components, fasteners, painted panels, and concrete.
When incompatible metals are placed in direct contact and exposed to moisture or salt, galvanic corrosion can begin at concealed connections. The exterior may still look clean while bolts, brackets, and mounting rails deteriorate behind the fascia.
Common controls include:
Compatible fastener selection
Isolation washers or barrier materials
Zinc-rich primer on prepared steel
Proper galvanizing specifications
Sealed but drainable joints
Stainless fasteners selected for the environment
Touch-up treatment after field cutting or welding
Coastal stations and sites exposed to de-icing salts deserve stricter material control. “Outdoor grade” is too vague to be a useful specification.
Electrical and Illumination Mistakes That Cause Repeat Service Calls
Mistake 7: Assuming the Site Voltage
Never assume voltage.
A quotation may refer to 110–120 VAC, 220–240 VAC, or a local three-phase supply, while the illuminated sign itself may use 12 VDC or 24 VDC LED modules behind internal power supplies. Frequency, earthing arrangements, branch-circuit capacity, disconnect location, surge protection, and enclosure conditions must also match the site.
The installer should confirm:
Nominal input voltage
Frequency, such as 50 Hz or 60 Hz
Circuit capacity
Cable size and type
Grounding or earthing method
Disconnect requirements
Power-supply location
Wet-location suitability
Surge-protection strategy
Local electrician licensing requirements
In 2024, the U.S. Bureau of Labor Statistics recorded 130 fatal occupational injuries involving exposure to electricity, including 61 from direct exposure and 56 from indirect exposure. These figures cover all occupations, not signage alone, but they show why electrical assumptions should never be treated as minor paperwork. BLS’s 2024 fatal injury table provides the detailed breakdown.
For U.S. projects, UL Solutions identifies UL 48 as the Standard for Electric Signs, UL 879 for electric-sign components, UL 879A for LED sign and retrofit kits, and NEC Article 600 for electric signs and outline lighting. UL also distinguishes signs certified for dry, damp, or wet locations.
A component carrying a recognized brand name does not automatically make the complete sign compliant.
The whole assembly matters:
Power supplies
LED modules
Conductors
Enclosures
Disconnects
Bonding
Strain relief
Drainage
Field wiring
Labeling
Installation instructions
This is especially important when signs are imported as separate cabinets, letter sets, price modules, or knock-down structures. Buyers using an OEM and ODM signage manufacturing program should specify the destination market, applicable certification requirements, component brands, wiring configuration, and inspection documents before approving production.
Mistake 9: Placing Power Supplies Where Nobody Can Service Them
A power supply may last for years. It may also fail during the first wet season.
Either way, somebody must reach it.
Common access failures include:
Drivers sealed behind permanent cladding
Service doors blocked by canopy columns
Power supplies mounted above safe ladder reach
Screws hidden behind adjacent panels
Multiple circuits without labels
No spare cable length
No weather-protected maintenance area
This is where cheap fabrication becomes expensive ownership.
A serviceable design should let a trained technician isolate the circuit, open the correct panel, identify the failed component, replace it, reseal the enclosure, and restore operation without dismantling half the canopy.
Mistake 10: Sealing Every Opening and Accidentally Trapping Water
Water enters outdoor signs through joints, cable penetrations, condensation, pressure changes, damaged seals, and service doors.
The usual reaction is to apply more silicone.
That can make the problem worse.
An outdoor cabinet needs controlled drainage as well as sealing. Blocking designed drain holes can trap condensation inside the lowest section of the cabinet. Water then reaches terminal blocks, steel frames, LED modules, acrylic edges, or power supplies.
A better installation checks:
Drip loops on incoming cables
Downward-facing cable entries where possible
Proper glands and bushings
Drain holes at actual low points
Ventilation strategy
Gasket compression
Service-door alignment
Sealant compatibility
Post-installation water testing
Seal the entry path. Do not build a bathtub.
Product-Specific Gas Station Signage Installation Mistakes
Pylon Signs: Poor Rigging, Unsafe Lift Positioning, and Overhead Lines
Pylon-sign installation combines excavation, concrete, structural steel, suspended loads, cranes, aerial lifts, electrical work, and live vehicle movement. That combination leaves little room for improvisation.
OSHA documented a 1999 incident in which a sign installer working from a JLG aerial lift contacted a 115 kV overhead power line at a working height of approximately 8.5 m and was electrocuted. In another incident, an employee touching a metal sign was killed when an aerial-lift cage contacted a 7,200 V line located 8 ft 6 in. from the sign. These were not cosmetic installation errors. They were fatal planning failures. Read the 115 kV OSHA case and the 7,200 V aerial-lift case.
A safe lift plan should define:
Crane capacity at the required radius
Sign weight and centre of gravity
Certified lifting points
Sling and spreader arrangement
Tag-line control
Exclusion zones
Traffic management
Ground-bearing capacity
Outrigger positioning
Overhead-line clearance
Wind limits for lifting
Emergency lowering procedures
“Bring a crane” is not a lift plan.
Canopy Fascia: Installing to an Uneven or Moving Substrate
Canopy lines that appear straight from the road may vary by several millimetres—or considerably more—across long elevations.
Installers often force rigid aluminum composite panels, extrusions, or illuminated logo cabinets to follow an uneven structure. The result is oil-canning, open joints, distorted trim, misaligned brand bands, or fasteners under continuous stress.
Do not use sealant to hide a dimensional problem. Correct the support system.
Gas Price Displays: Wrong Viewing Angle and Weak Commissioning
An LED price display can operate perfectly and still fail commercially.
The digits may be blocked by landscaping, too small for the road speed, installed behind reflective material, aimed away from approaching traffic, or configured with brightness settings that look excellent at night but wash out under direct afternoon sun.
RF, 4G, Wi-Fi, Ethernet, or hardwired communication
Manual update procedure
Loss-of-signal behaviour
Commissioning must include more than switching the display on. Test every digit segment, every fuel-price row, every communication method, brightness scheduling, controller permissions, restart behaviour, and the emergency manual-update process.
Accessible and Directional Signs: Correct Product, Wrong Height
Wayfinding signs are often installed after the “main” branding is complete, so their positions are decided quickly.
That is a mistake.
The U.S. Department of Justice states that accessible parking identification signs generally must display the International Symbol of Accessibility and be mounted at least 60 inches above the ground, measured to the bottom of the sign. Van-accessible spaces also require the appropriate designation, while qualifying routes require at least 98 inches of vertical clearance. DOJ accessible parking guidance explains these dimensions.
Local requirements may add stricter rules, colours, fines, pavement markings, or supplementary signs.
Compliance is not achieved by ordering the correct symbol and mounting it wherever space remains.
Installation Mistake Comparison Table
Installation Mistake
Immediate Symptom
Hidden Consequence
Best Preventive Action
No verified site survey
Holes, rails, or cable exits do not align
Rework, delayed opening, extra lift rental
Complete a dimensional and photographic survey before production
Generic pylon foundation
Sign appears stable initially
Cracking, rotation, settlement, permit rejection
Use site-specific structural and foundation calculations
No utility verification
Excavation stops unexpectedly
Cable strike, gas-line damage, injury, schedule loss
Coordinate utility locating and controlled exposure before digging
Assumed input voltage
Sign flickers or will not power up
Driver damage, overheating, repeat service visits
Confirm voltage, frequency, circuit capacity, and grounding in writing
Inaccessible power supplies
Minor failure requires panel removal
High maintenance cost and longer downtime
Provide labeled service doors and replaceable components
Blocked drain holes
Moisture remains inside cabinets
Corrosion, short circuits, LED failure
Preserve designed drainage and use proper cable-entry details
Poor canopy datum control
Wavy fascia and uneven joints
Brand inconsistency across the site
Establish laser levels and adjustable mounting rails
No display commissioning
Incorrect digits or communication faults
Wrong prices, customer complaints, lost sales
Test every segment, row, controller, schedule, and restart condition
Unsafe aerial-lift positioning
Operator works near traffic or conductors
Electrocution, collision, fall, fatal injury
Complete a documented lift and exclusion-zone plan
Missing as-built documents
Nobody knows circuit or component locations
Slow troubleshooting and repeated diagnostic labour
Deliver drawings, photos, labels, settings, and test records
A Better Gas Station Sign Installation Workflow
Step 1: Freeze the Scope
List every sign by type, quantity, location, size, illumination method, mounting system, input voltage, communication method, and responsible trade.
Step 2: Complete the Site Survey
Record dimensions, elevations, access, existing structures, foundations, utilities, electrical panels, traffic flow, road-facing views, and service clearances.
Step 3: Confirm the Approval Path
Identify the authority having jurisdiction, landlord requirements, petroleum-brand standards, planning approval, sign permit, electrical permit, structural calculations, and inspection stages.
Step 4: Coordinate Engineering
Approve structural drawings, foundation details, anchor plans, attachment methods, cable routes, circuit schedules, equipment listings, and service access.
Step 5: Approve a Full-Size or Scaled Layout
Check logo placement, price hierarchy, sight lines, corner transitions, colour references, panel joints, and mounting heights.
Step 6: Conduct a Pre-Installation Meeting
Include the sign contractor, electrician, civil contractor, canopy contractor, station operator, traffic-control team, crane provider, and project manager.
Step 7: Install in a Controlled Sequence
A practical sequence may be:
Utility verification
Excavation and foundations
Underground conduit
Structural steel
Pylon cabinets
Canopy mounting rails
Fascia and brand panels
Price displays
Electrical connections
Wayfinding signs
Testing and commissioning
Step 8: Inspect During Daylight and Darkness
A daytime inspection finds alignment, finish, sealant, scratches, visibility, and physical damage. A nighttime inspection reveals dark modules, hot spots, colour mismatch, light leakage, incorrect brightness, and uneven illumination.
You need both.
Step 9: Deliver the Closeout Package
The final package should include:
Approved drawings
As-built drawings
Foundation records
Electrical diagrams
Circuit labels
Component list
Controller instructions
Test records
Installation photographs
Warranty terms
Maintenance instructions
Spare-part recommendations
Without closeout documents, the next technician starts from zero.
FAQs
What are the most common gas station signage installation mistakes?
The most common gas station signage installation mistakes are incomplete site surveys, unverified foundations, assumed electrical specifications, poor water drainage, unsafe lifting, incorrect viewing angles, inaccessible service components, and inadequate commissioning. These errors usually originate during planning and coordination rather than during the final physical installation itself.
Other frequent problems include manufacturing before permit approval, ignoring underground utilities, omitting wind calculations, using incompatible metals, positioning price displays against the wrong traffic approach, and failing to provide as-built drawings after completion.
How should a gas station sign installation be planned?
A gas station sign installation should be planned as a coordinated structural, electrical, civil, branding, traffic-management, and commissioning project. The process begins with a detailed site survey and continues through permit confirmation, engineering approval, utility locating, equipment selection, installation sequencing, testing, and delivery of complete closeout documentation.
The scope should clearly assign responsibility for foundations, anchor bolts, electrical feeds, crane access, traffic control, final wiring, inspection bookings, price-display programming, and nighttime testing.
Does a gas station pylon sign need structural engineering?
A gas station pylon sign generally requires site-specific structural review because its height, cabinet area, wind exposure, internal frame, anchor system, soil conditions, and foundation determine whether it can safely resist overturning, sliding, bending, and connection forces. Exact requirements depend on the locally adopted building code and permitting authority.
An existing foundation should not be reused solely because the new sign occupies the same position. Its concrete, reinforcement, anchors, dimensions, deterioration, and compatibility with the new loads should be verified.
How can water damage in illuminated gas station signs be prevented?
Water damage in illuminated gas station signs is prevented through coordinated sealing, drainage, ventilation, cable management, corrosion protection, and service-door design. Installers should use suitable glands, drip loops, gaskets, compatible sealants, protected electrical components, and correctly positioned drain openings while avoiding details that trap condensation inside the enclosure.
A post-installation inspection should check cable entries, cabinet joints, low points, service panels, damaged coatings, blocked drains, and any field-cut openings before the electrical system is energized.
How should LED gas price signs be tested after installation?
LED gas price signs should be tested by checking every digit segment, fuel-grade row, display colour, brightness level, communication method, controller account, restart response, signal-loss behaviour, and manual update function. Testing should be performed from the actual driver approach during daylight, dusk, and nighttime conditions.
The installer should also confirm price formatting, decimal or fractional conventions, scheduled dimming, remote-update range, cabinet sealing, electrical load, surge protection, and the accuracy of operating instructions given to station staff.
What information does a signage manufacturer need before production?
A signage manufacturer needs approved dimensions, quantities, artwork, material specifications, illumination method, input voltage, mounting details, destination market, site photographs, structural requirements, certification needs, delivery conditions, and installation responsibilities. Pylon projects also require foundation and wind information, while digital price signs require digit, controller, and communication specifications.
Providing complete information before production allows mounting holes, cable exits, access doors, frames, panel joints, electrical components, and packaging divisions to be designed around the real installation rather than assumptions.
Prevent Installation Problems Before Production Starts
Cheap installation is often an expensive correction waiting to happen.
Before placing a gas station signage order, prepare a site package containing the installation address, photographs, verified dimensions, sign schedule, foundation information, available voltage, mounting structure, wind-design requirements, viewing directions, controller needs, destination country, and applicable approval standards.
Custom Signage Factory supports coordinated production of pylon signs, canopy fascia, illuminated logos, directional signage, and fuel-price displays based on approved project documents.
Custom Signage Factory manufactures commercial signs for sign companies, contractors, distributors, and multi-site brands. With a 20,000 m² workshop, 80+ production workers, 50+ machines, and an annual capacity of 100,000 pieces, we produce LED letters, light boxes, pylon signs, gas station signage, neon signs, and custom OEM sign systems.